Description
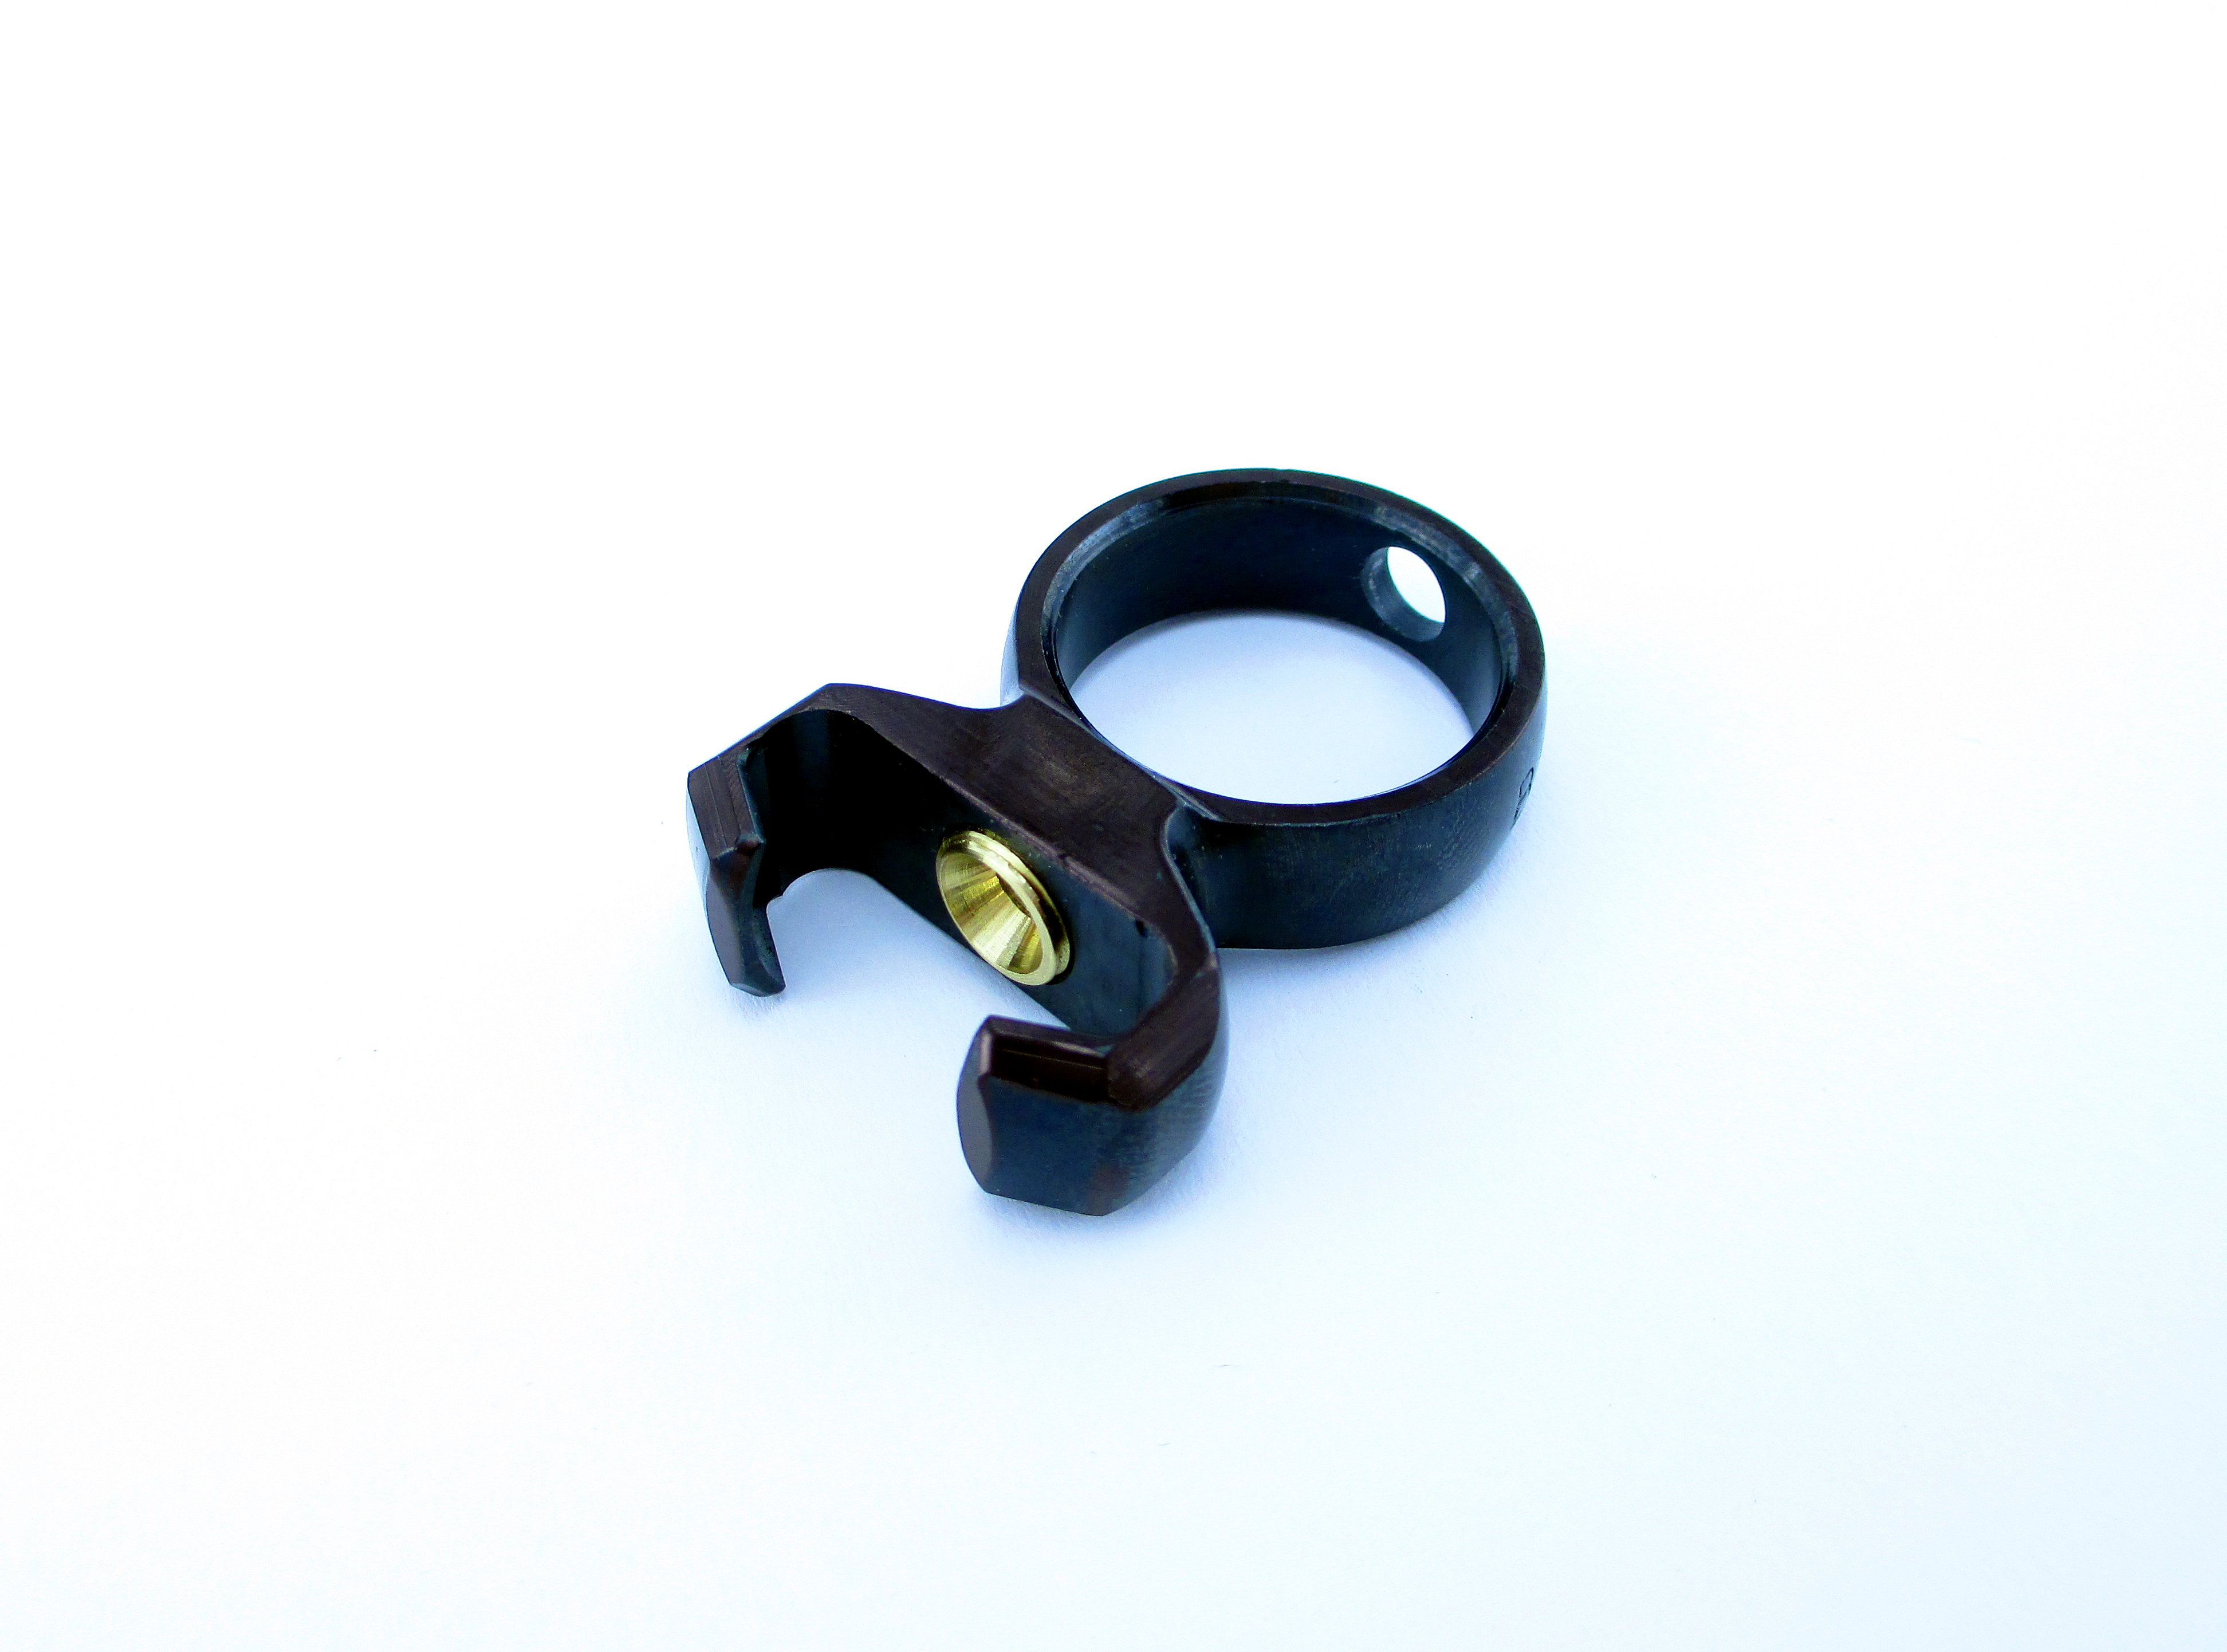
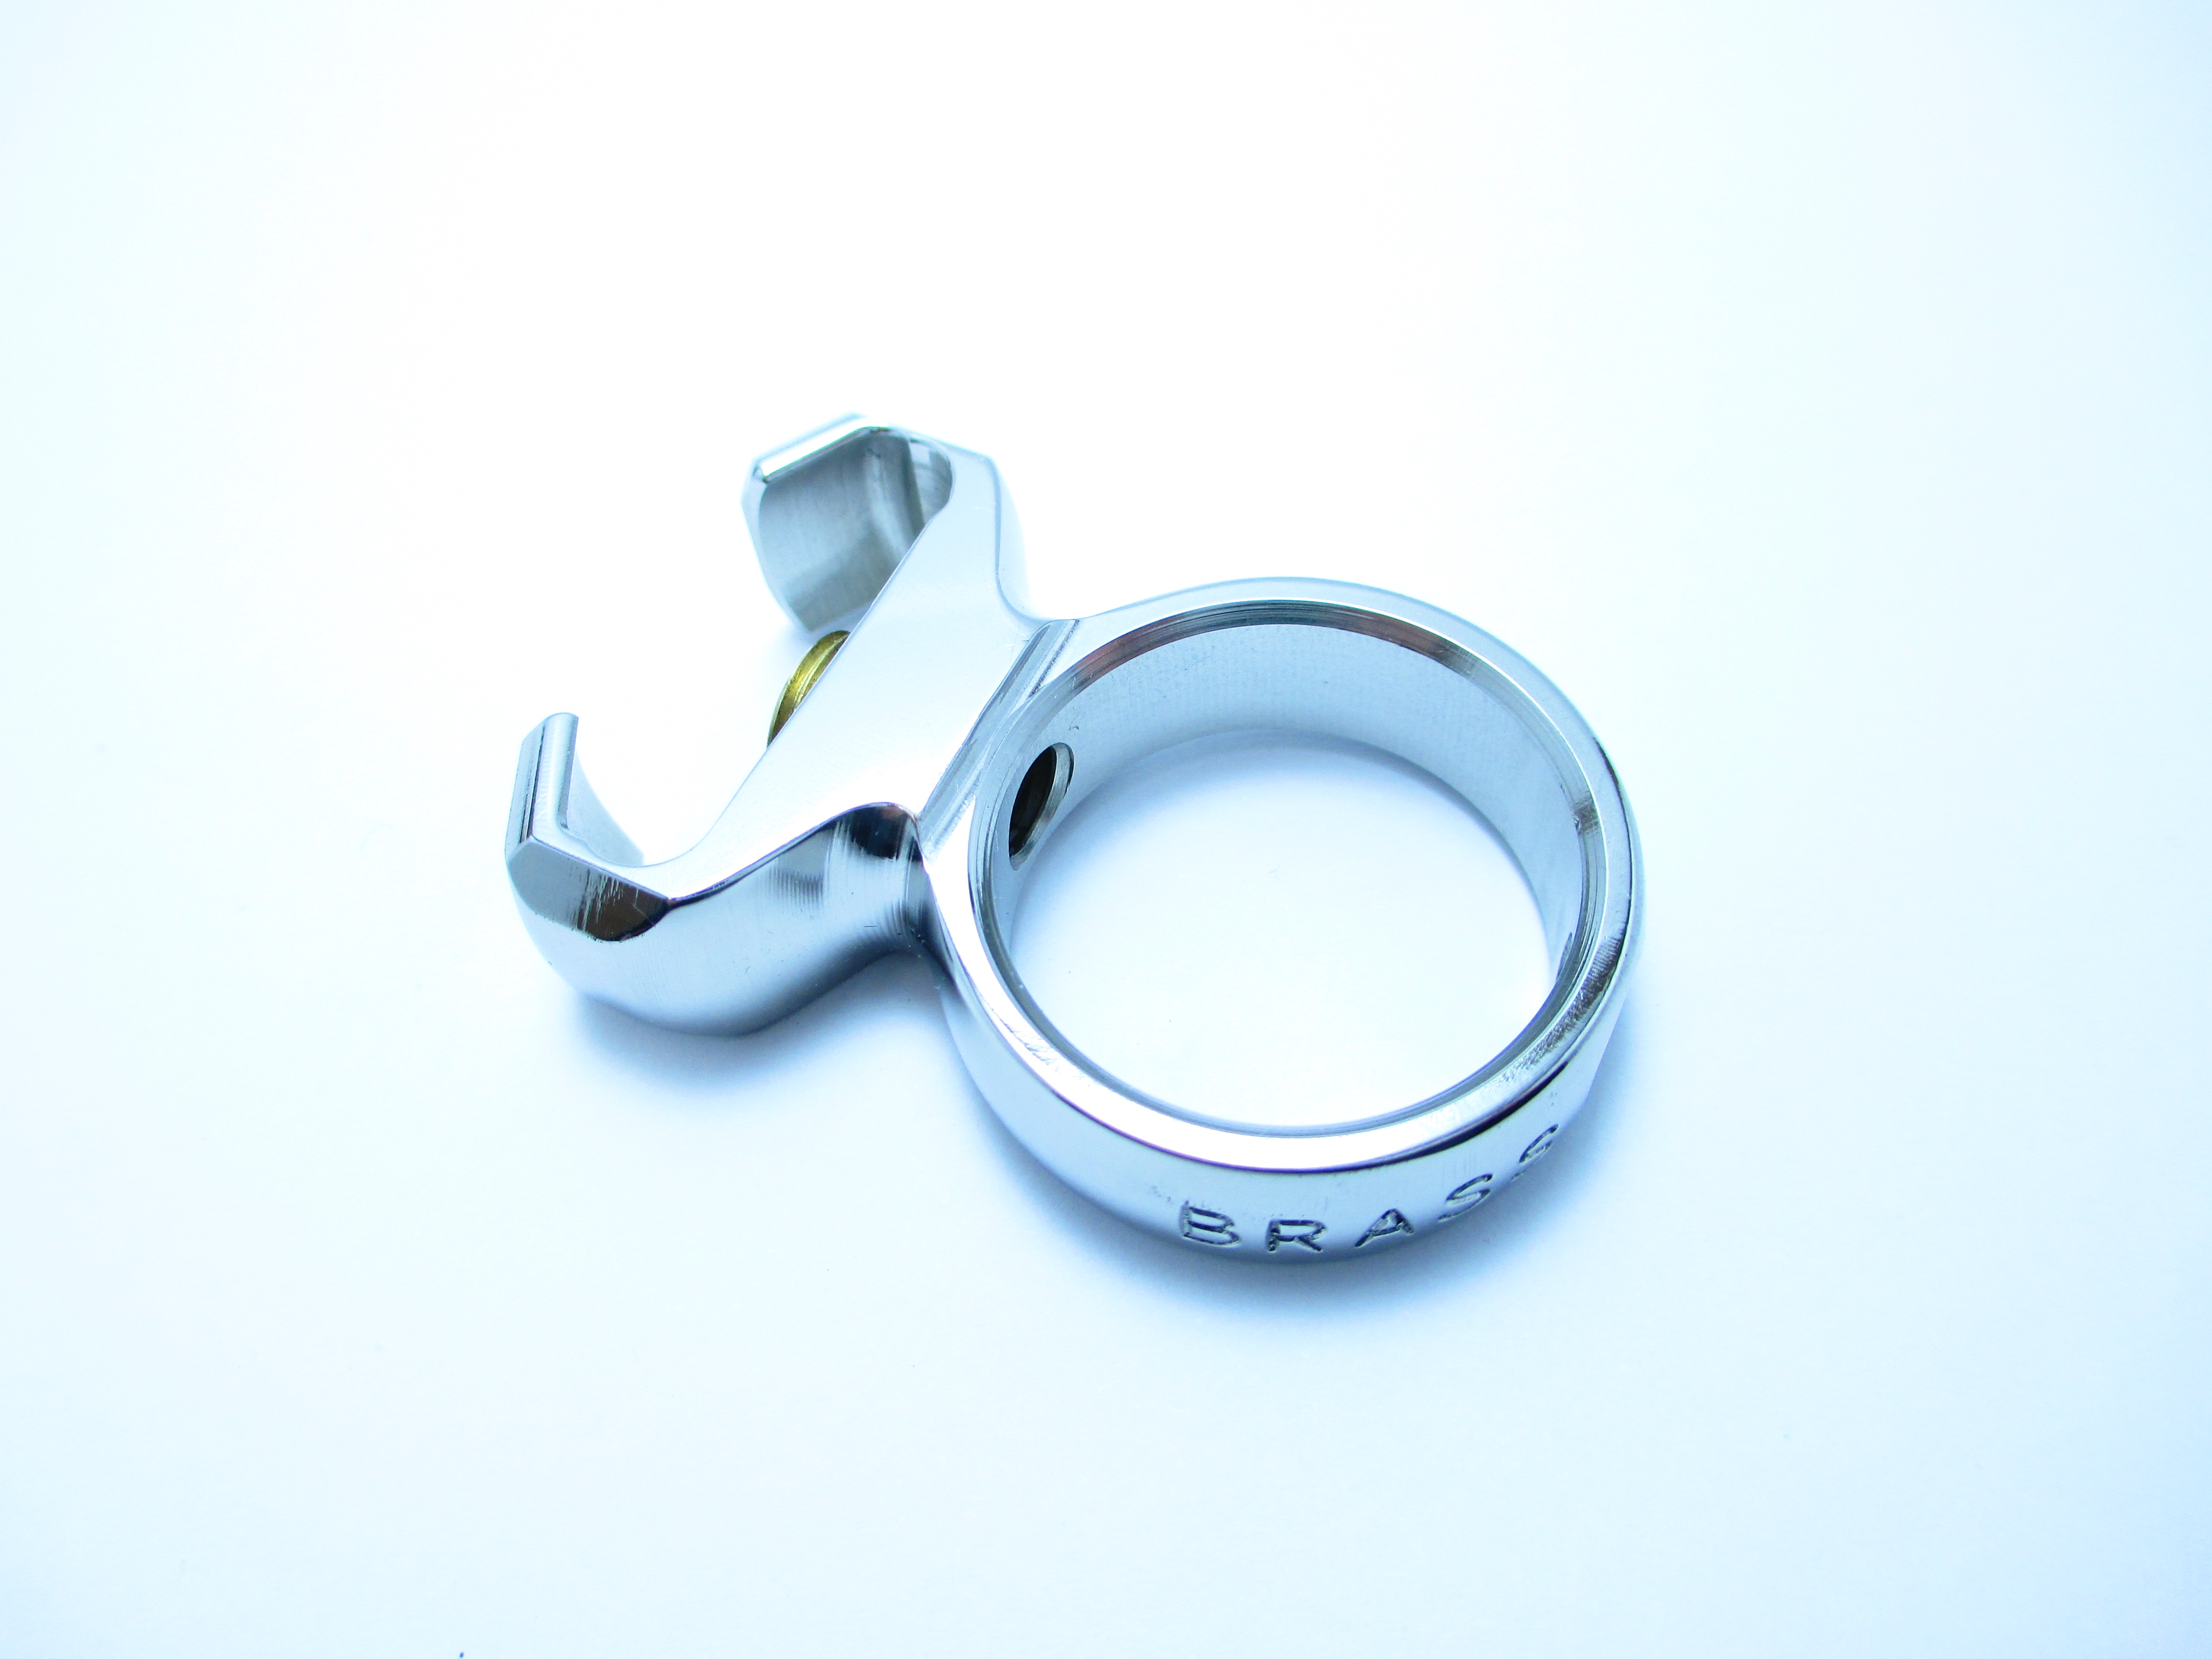
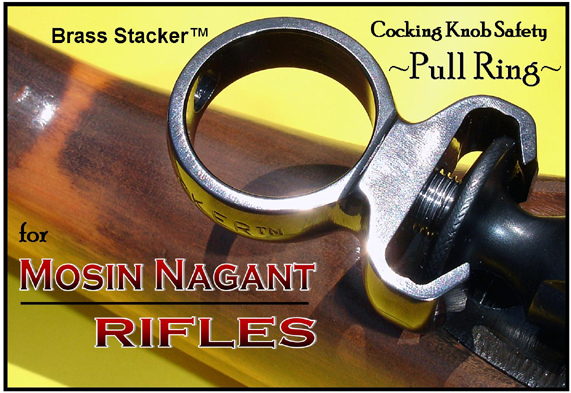
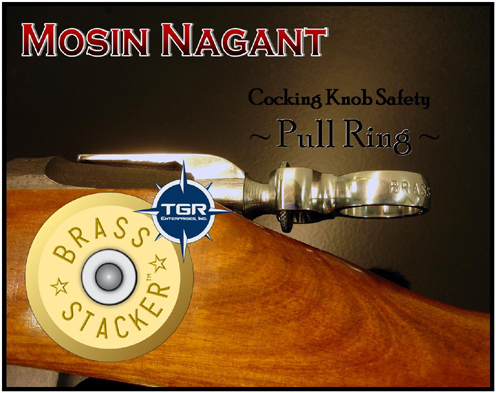
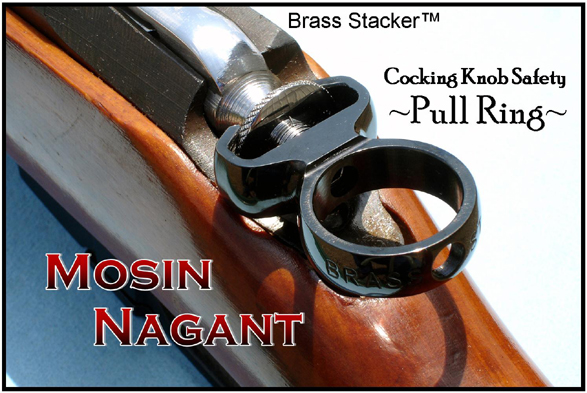
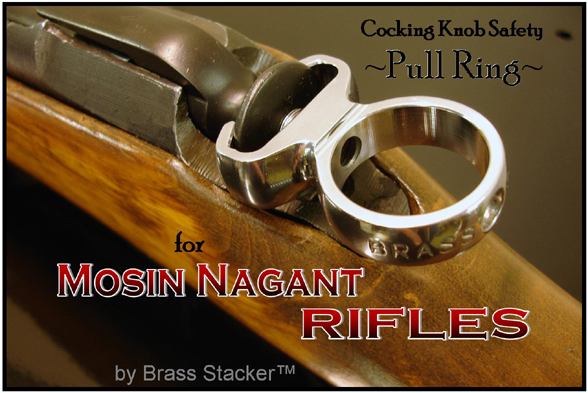
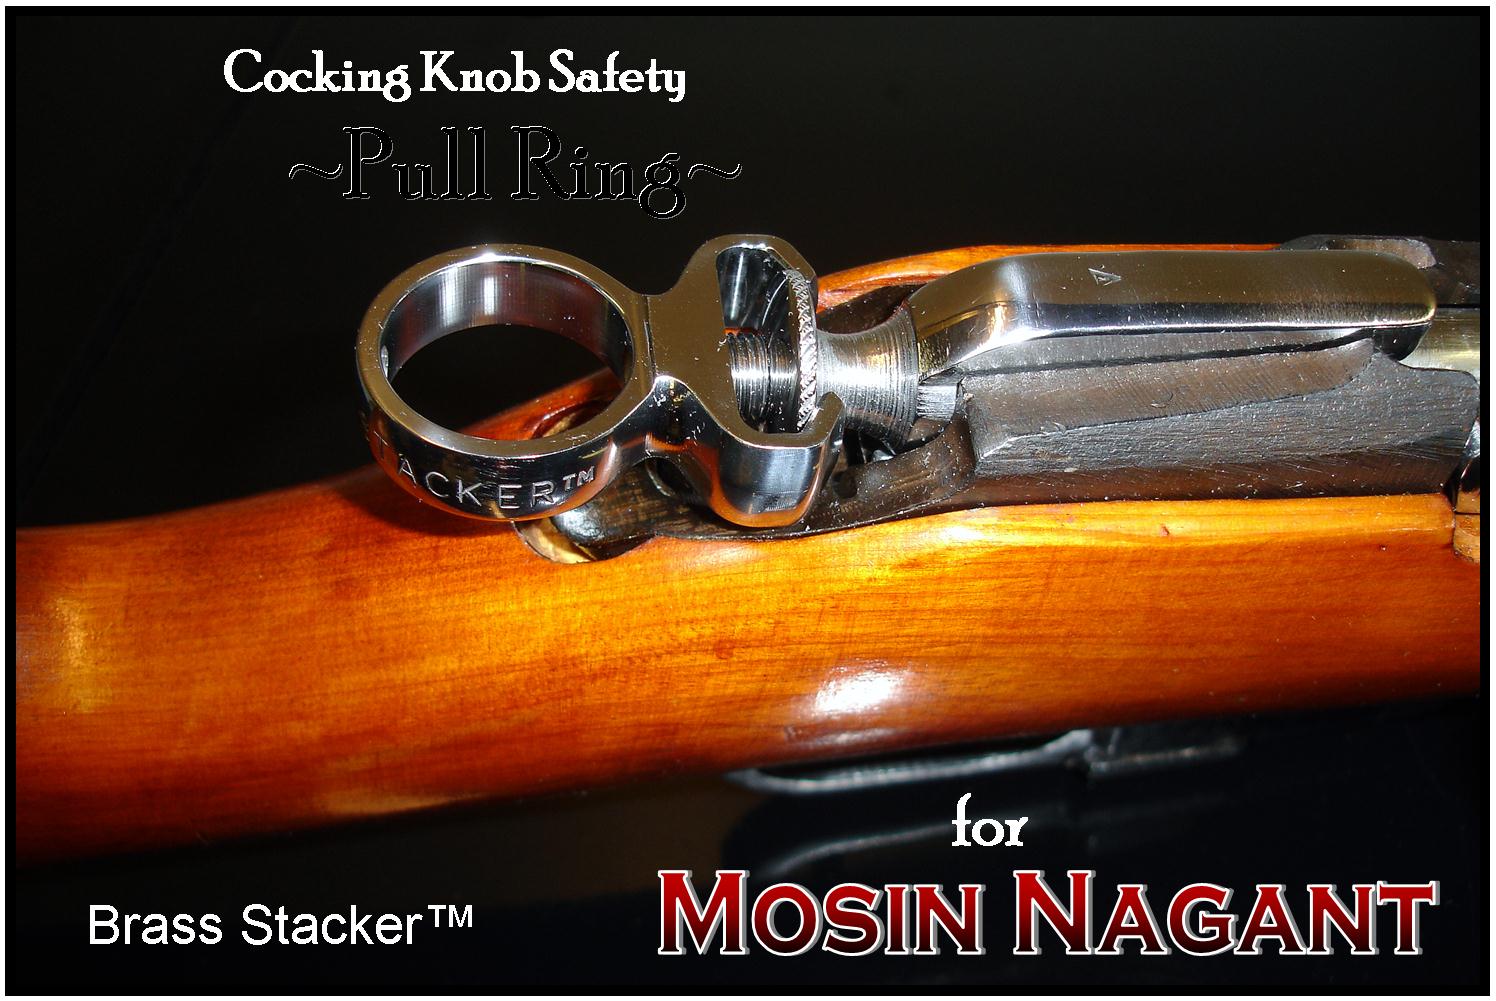
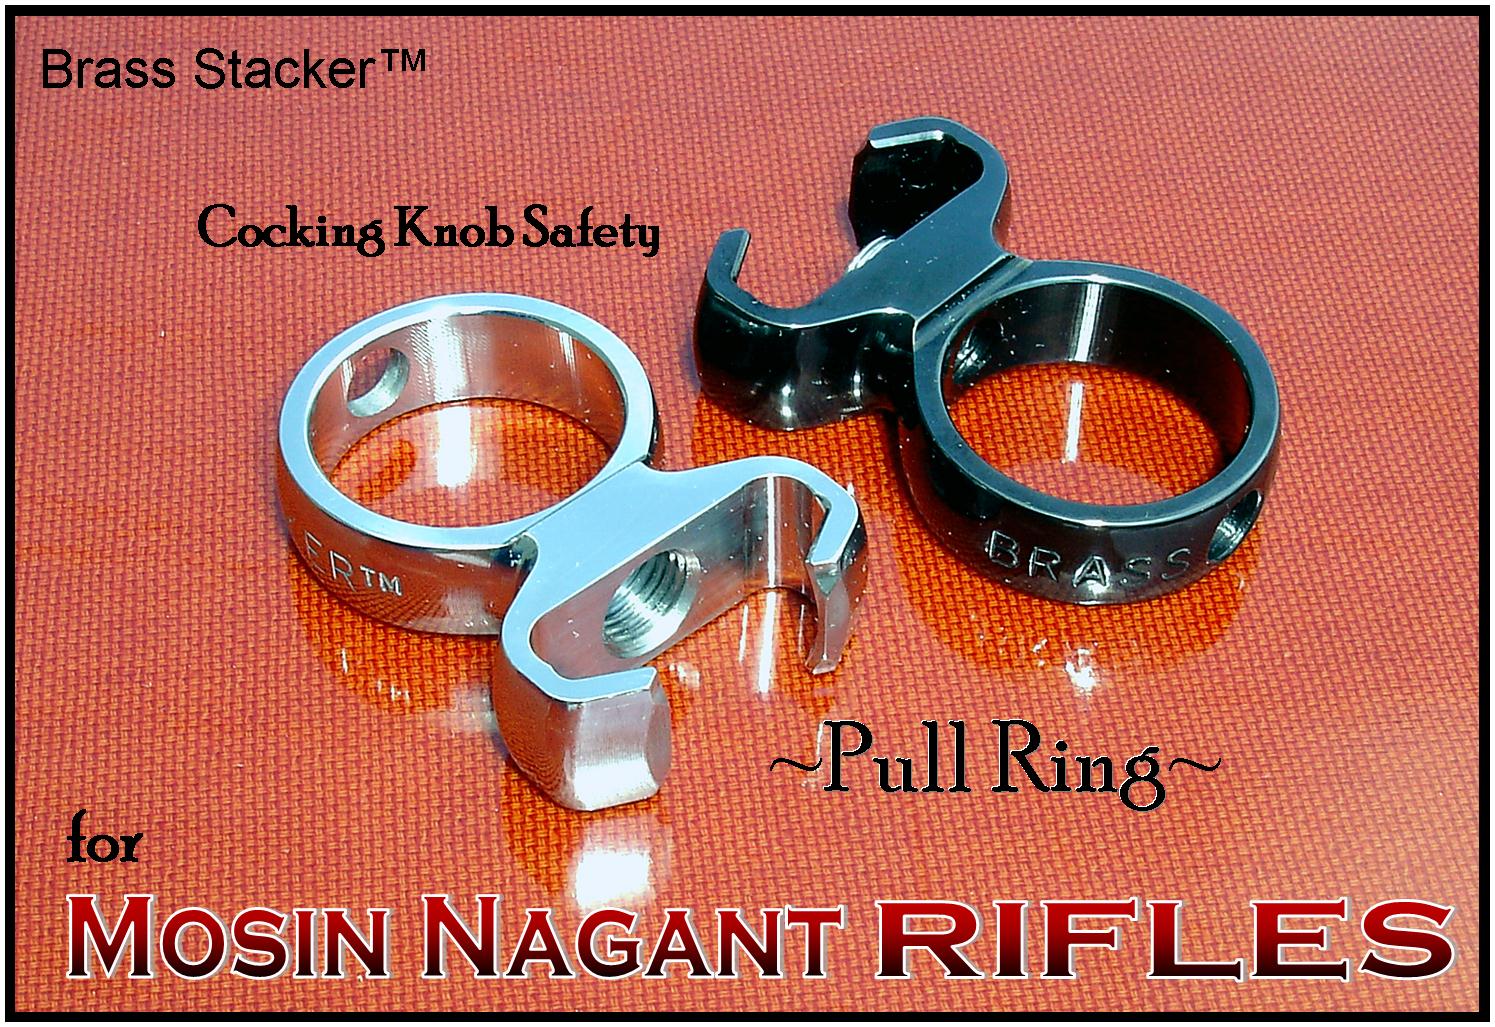
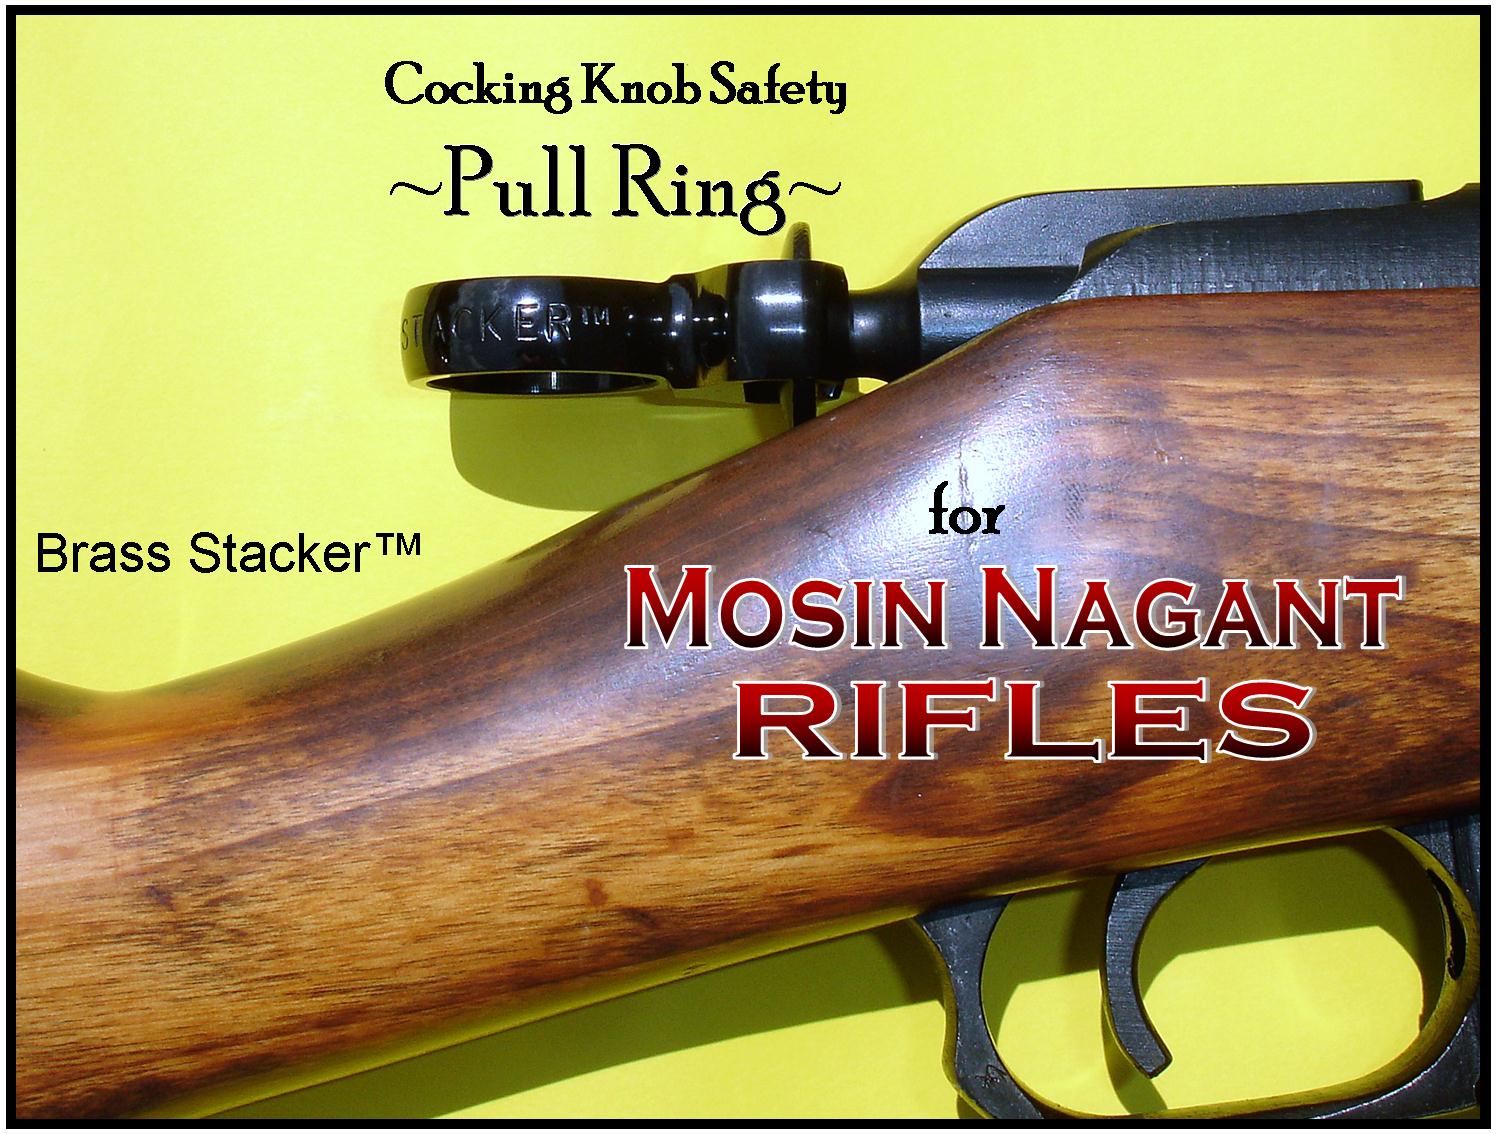
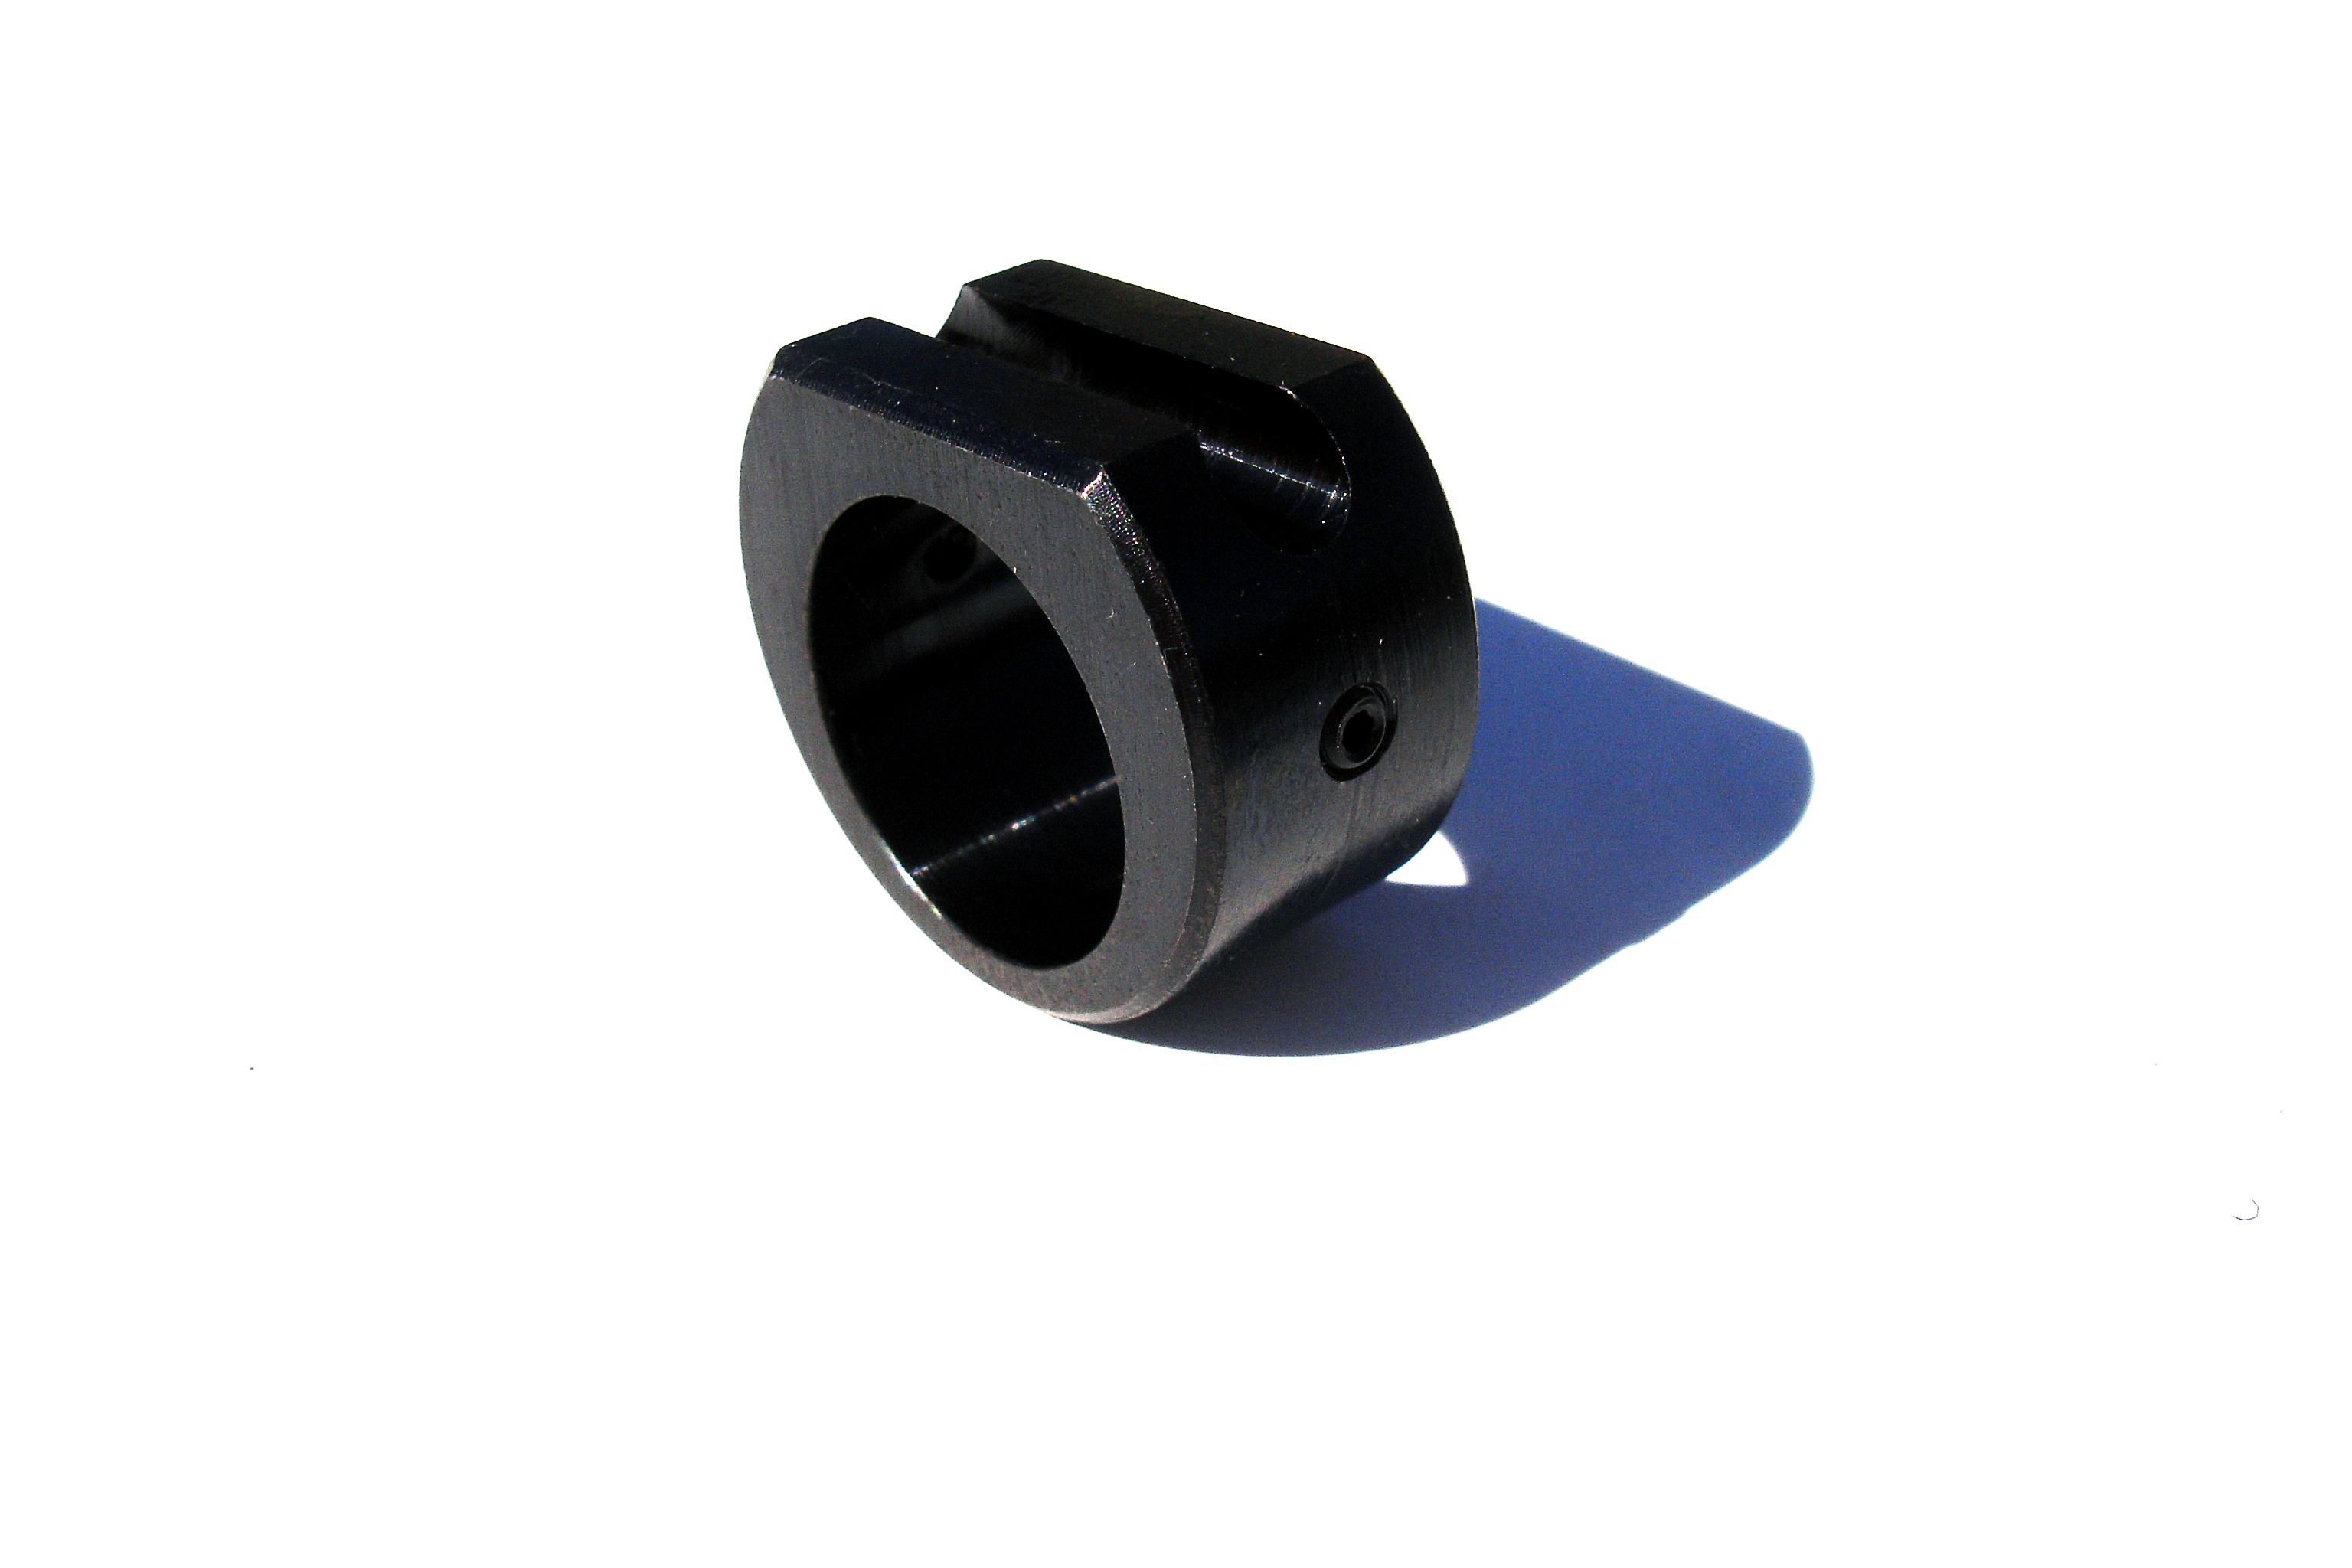
Inconvenient at best, the cocking knob safety of the Mosin Nagant can be difficult to engage and is therefore often not used. In an effort to promote firearm safety by preventing accidental discharge, we have developed our Cocking Knob Safety Pull Ring (Patent Pending) which allows for more convenient manipulation of the Mosin Nagant safety.
The Safety Pull Ring features:
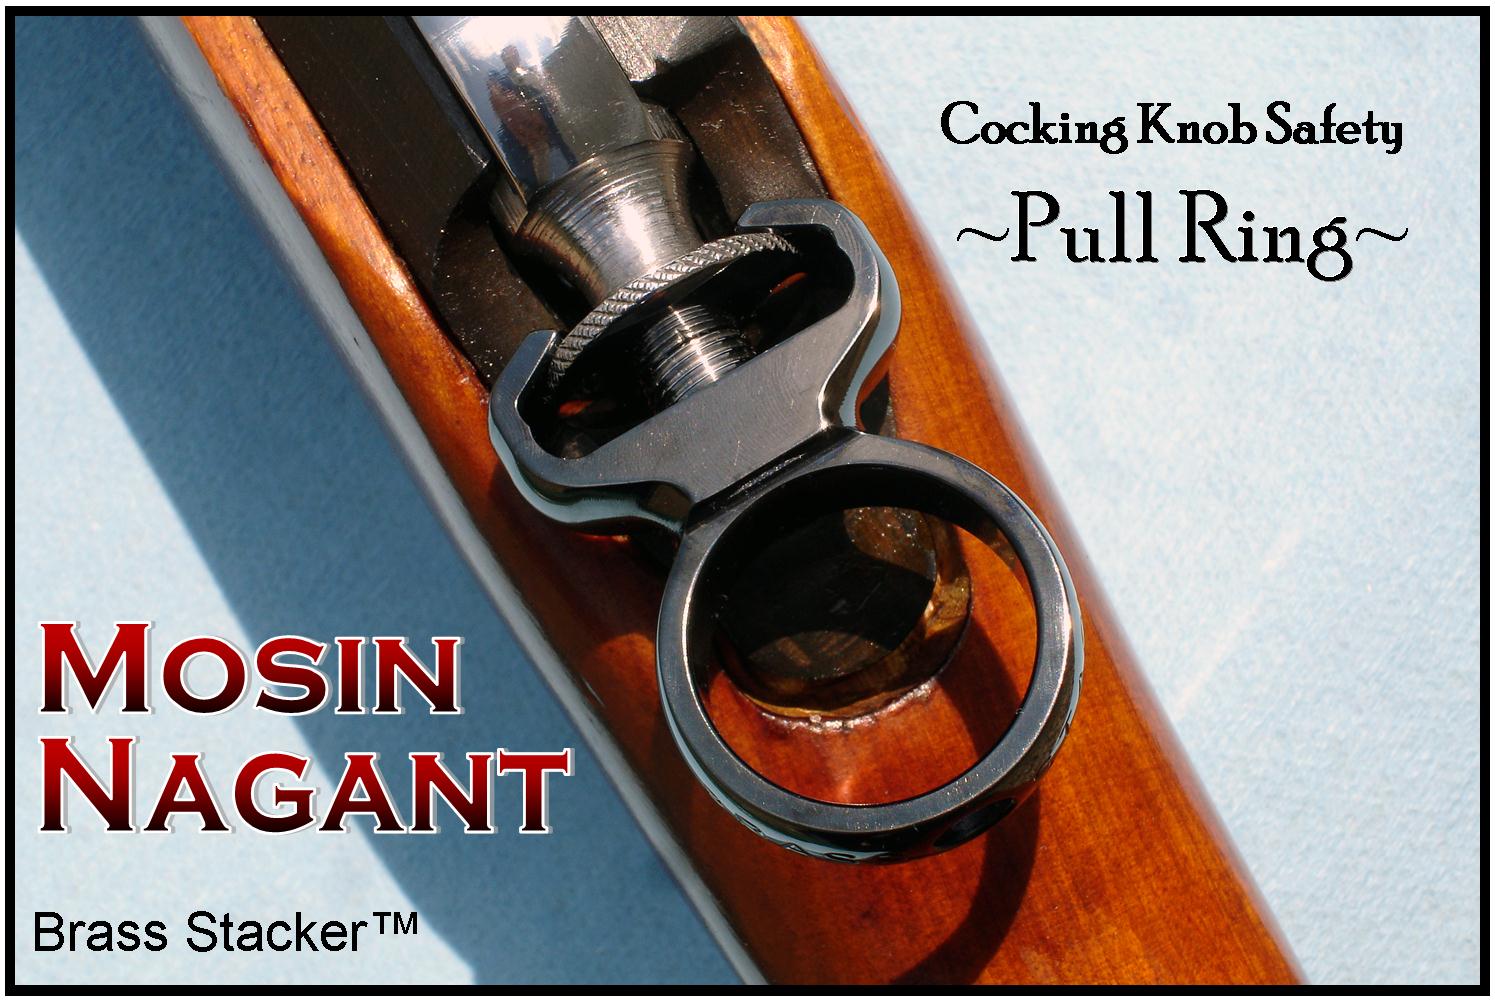
∙ A large diameter finger hole that will accommodate even gloved hands and does not interfere with bolt function.
∙ Easy installation utilizing a simple, non-marring, soft brass set screw with no permanent modification to the firearm required.
∙ Access to the slotted end of the firing pin via clearance hole through set screw.
∙ Sleek, stylish look and superior American craftsmanship available in both black oxide finished steel and polished stainless steel.
Fits:
M9130, M44, M38, T53, M53, M91, M24, M27, M28 and M39
Made in America with a 100% Lifetime Warranty.
PLEASE READ THE FOLLOWING BEFORE PURCHASING.
***There is wide variation in cocking knob diameter, thickness and crown radius in the Mosin Nagant population. In addition, there are many cases where the cocking knob neck is bent. We have made every reasonable effort to ensure that this product will fit the majority of Mosin Nagant cocking knobs. However, due to the large number of these firearms produced over many years around the world, it is impossible for us to allow for all manufacturing variation. As with all of our products, it may be returned undamaged for a full refund.
This product does not fix, repair, replace, improve or in any way change the condition or function of your firearms’ existing safety. It is designed to simply allow for easier manipulation the existing safety. NEVER depend solely on your firearms’ safety, ALWAYS keep your firearm pointed in a safe direction.
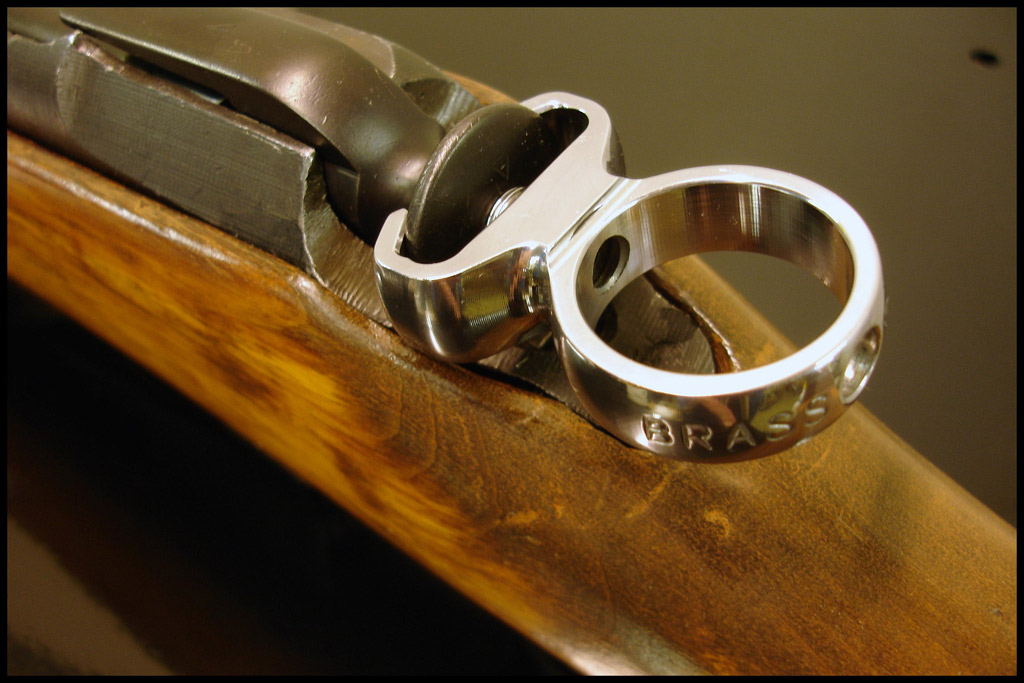
Installation Instructions: CAUTION! Improper installation or use may result in damage to property, severe injury, or loss of life. If for any reason this product does not function properly with your firearm, discontinue use immediately. Always practice proper FIREARM SAFETY and ensure firearm is UNLOADED prior to installation. (Although not required, the consumer may choose to use an appropriate liquid thread locker for the brass jacking set screw.) Keep firearm pointed in a safe direction and cock by closing bolt on an EMPTY chamber. Insert supplied 3/16” hex wrench through large hole in rear of Safety Pull Ring and advance forward through smaller hole in opposite side of ring. Gently rotate wrench until alignment allows for engagement in the brass jacking set screw. Retract fully the brass jacking set screw by rotating counterclockwise. (When installed correctly, the jacking screw must be centered over the exposed slotted screw in the crown of the bolt cocking knob. Take note of the fact that the center of the brass jacking set screw is relieved. This relief hole has been machined in the jacking screw to accommodate the free rotational movement of the slotted screw end of the firing pin in the crown of the cocking knob. When tightened, if the jacking screw is not centered it can interfere with the rotation of the slotted end of the firing pin which is keyed within the bolt.) Place the Safety Pull Ring arms over the bolt cocking knob until roughly centered and gently snug brass jacking set screw against back of knob by rotating clockwise, DO NOT TIGHTEN. The pull ring is designed to engage the knurled outside diameter of the cocking knob with four points of contact. While performing the following, exercise patience and make small adjustments to gradually tighten in the desired position: Rotate the Safety Pull Ring to the desired alignment and manipulate to the center of the cocking knob crown while simultaneously adjusting the position of the clamping arms to provide even contact against the knurled outer diameter of the knob. In its proper position, the Safety Pull Ring should be perfectly horizontal when viewed from the rear. This horizontal orientation will minimize the chance of the Safety Pull Ring coming in contact with the wooden stock upon firing. Once final positioning is achieved, tighten to a maximum torque of 7 ft lbs. Do not over tighten as that will “spring” the arms beyond there allowable limit. When tightened properly, the four points of contact should deform slightly providing an adequate degree of “bite” on the cocking knob. Check for proper fit and function before firing.
Operating Instructions: CAUTION! Engage / disengage safety ONLY with rifle pointed in a SAFE direction! With the Safety Pull Ring properly installed and fingers AWAY from trigger, engage the safety from a cocked condition by inserting finger securely in ring, gently pull cocking knob rearward and rotate counterclockwise approximately 45°. To disengage the safety, insert finger securely in ring, gently pull cocking knob rearward and rotate clockwise back to a vertical position.
